Many of our customers use our services to host a VPN server. Running your own VPN gives you allot of benefits most commercial VPN services can’t offer for the same price.
When using commercial VPN services you share the server’s resources with other clients (i.e. CPU, RAM); If one client abuses you will have a slower connection.
With your own VPN server you control your own resources and choose who can acces the server. Next, with any commercial VPN you’ll always wonder whether the VPN provider is spying on you.
that’s not a concern when you use your own VPN, Hostslim will not track your server data. One other benefit is the that you can circumvent the Netflix “block” most commercial VPNs run.
When leasing a VPS from Hostslim or Hostslayer you can do anything you want with it if you are interested in running a VPN service on your VPS then this article will be helpful!
Using automated installation scripts, the process has become easier for the average person to use. The following is how to install OpenVPN on your own VPS server running Debian 7/8/9
Things you will need:
– Any OpenVZ or KVM package
- Openvpn client installed on your computer
- Debian 7/8/9
- Putty
- WinSCP
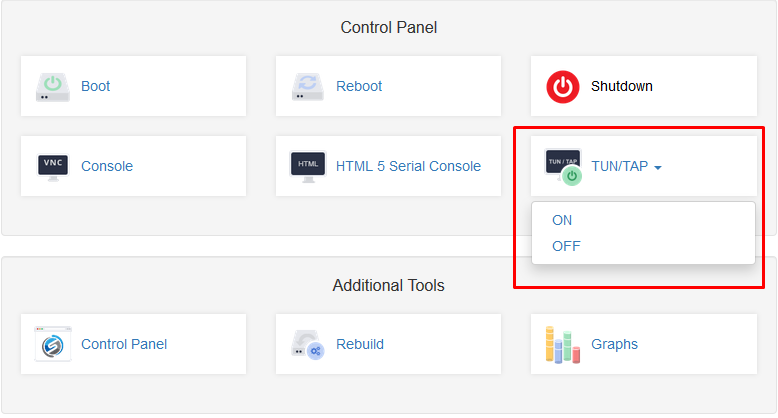
Note: If you are using an Openvz vps you need to make sure that “tun/tap” has been enabled in your client area.
To check if tun/tap is enabled in the vps run the following command:
Command: cat /dev/net/tun
If TUN/TAP is enabled, it will return the following:
Command: # cat /dev/net/tun
cat: /dev/net/tun: File descriptor in bad st
Setup:
1: login into your VPS using putty and update the entire system:
Command: # apt-get update && apt-get upgrade -y
2: Download the automated OpenVPN install script
Command: # wget https://git.io/vpn -O openvpn-install.sh && bash openvpn-install.sh
NOTE: if you receive an certificate error You first need to run the following command and then run the second step again.
Command: apt-get install ca-certificates
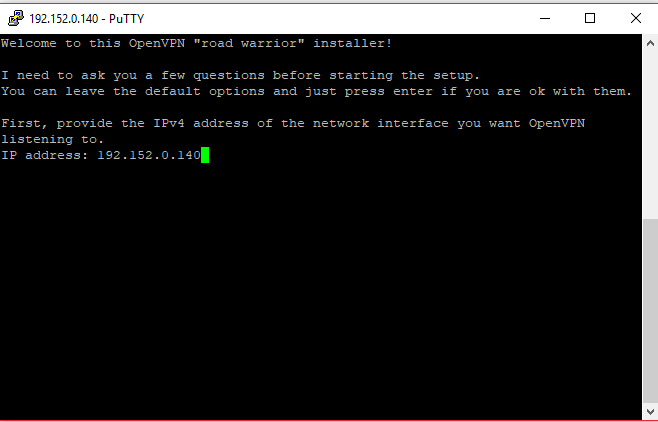
3: This wil open the “road warrior” script which will help you install OpenVPN.
The script will first ask on which IP it needs to run the vpn. If your vps only has one IP you can press enter here.
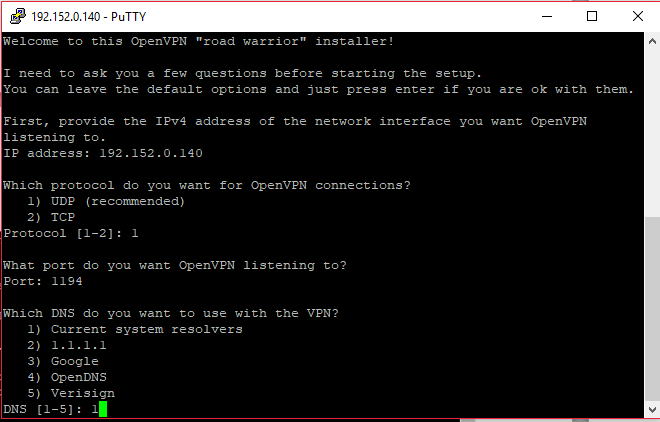
Leave as default and press enter
Leave as default and press enter

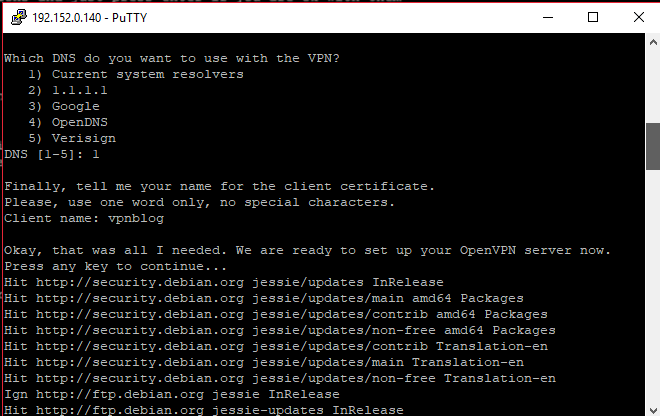
Choose the DNS you want, I recommend using googles DNS. If you don’t know what to choose you can leave it as 1 and press enter.
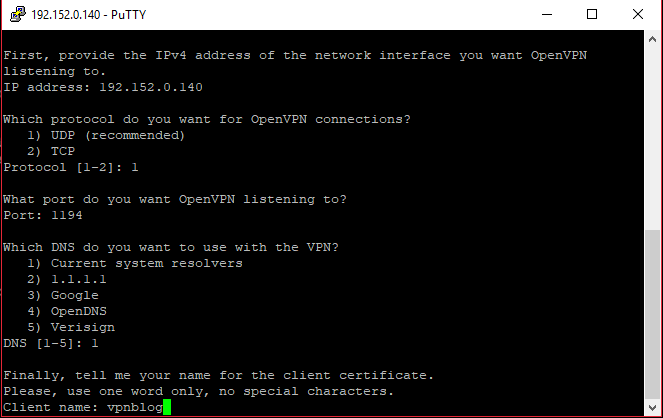
Choose te client name that you want to use for this setup we are going to use: “vpnblog”. And press enter
Press any key to start the installation!
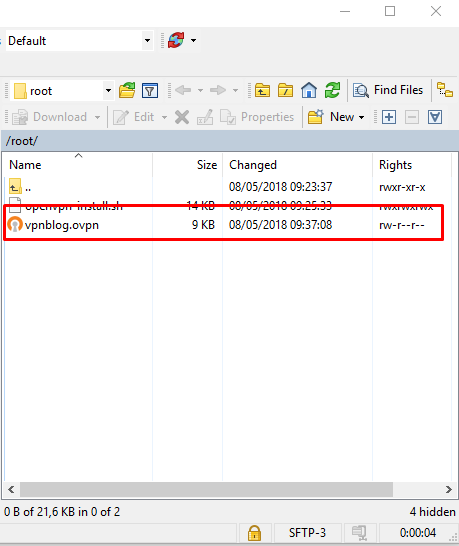
4: Open your ftp client and download the generated “.ovpn” file. I’m using winSCP in this guide.
5: Upload the ovpn file to your openvpn client
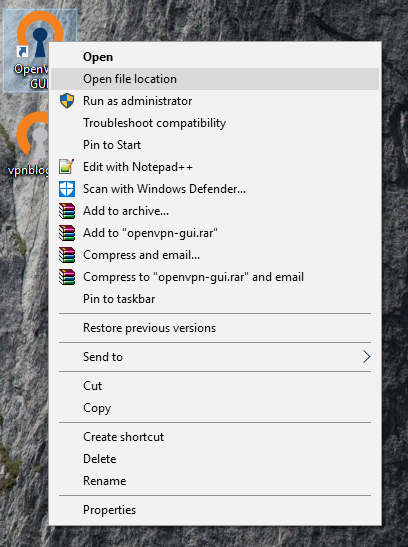
Open the file location of the OpenVPN GUI
Go up one level in the folder. Path: C:\Program Files\OpenVPN
Now open the config folder
Put the downloaded “.ovpn” file in this folder. You can delete the “README.txt” it’s not important.
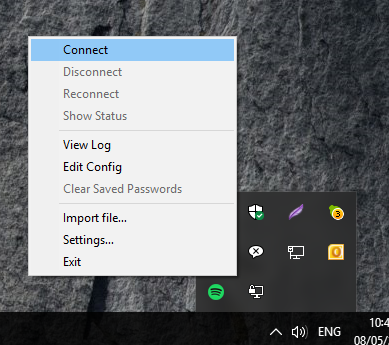
That’s it your VPN is now active and can be used at any time. To connect to the vpn press the connect button in the OpenVPN GUI. You will now be automatically connected.
Checkout your new IP on Google.com:
Extra step: you can add new user or remove old users by runnin the ovpn script again:
~# bash openvpn-install.sh


